
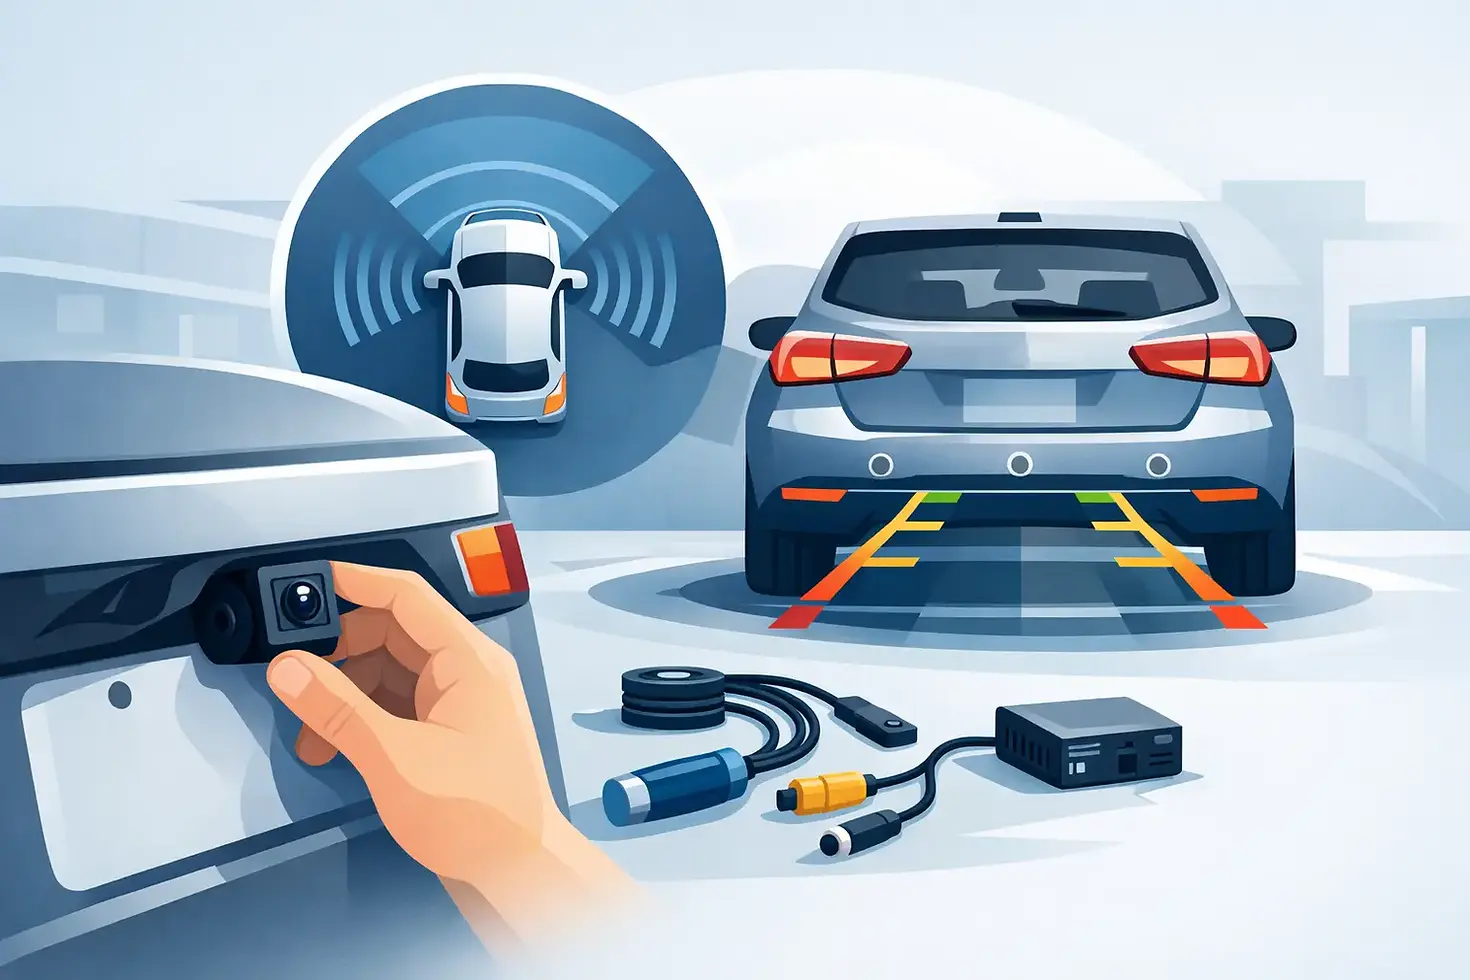
Reverse Camera Retrofit Guide for OEM Results
That moment when you ease a prestige car into a tight bay and realise the rear visibility is doing you no favours is exactly why a proper reverse camera retrofit guide matters. A well-executed upgrade is not just about adding a screen image when you select reverse. It is about restoring confidence, protecting bodywork and achieving factory-grade integration that looks and behaves as though the car left the production line with it.
For many owners, the challenge is not whether to fit a camera but how to do it without degrading the vehicle. Cheap universal kits often promise a quick fix, yet the result can be poor image quality, exposed wiring, unreliable triggering and trim that never quite sits right again. On higher-specification German and European cars, that kind of compromise stands out immediately.
What a reverse camera retrofit should actually achieve
A reverse camera is only as good as its integration. The best installations do three things well. They provide a clear image in low light and poor weather, they trigger instantly and consistently, and they preserve the cabin and exterior finish with discreet, OEM-style fitment.
That last point matters more than many drivers expect. If the camera housing looks obviously aftermarket, the wiring has been routed carelessly, or the display behaves inconsistently with the vehicle’s existing systems, the car can feel less refined rather than more capable. Precision engineering is what separates a worthwhile retrofit from an accessory stuck onto a valuable vehicle.
For some cars, true OEM-style performance means using original manufacturer components or model-specific parts designed to communicate correctly with factory infotainment. For others, it means a bespoke integration using the correct control modules, harnesses and coding so the experience remains clean and intuitive.
Reverse camera retrofit guide: start with the right system
Before any trim is removed or wiring is planned, the first decision is system type. This shapes the final result more than the camera itself.
If your vehicle already has a compatible factory screen, the ideal route is usually a camera that integrates directly into the existing display. This keeps the dashboard original and avoids additional screens cluttering the cabin. On Audi, BMW, Mercedes-Benz, Porsche, Skoda and SEAT models, this is often the standard owners are aiming for because it protects the vehicle’s design language.
If the car does not have a suitable display, the retrofit becomes more nuanced. You may need a dedicated interface module, an upgraded head unit, or a mirrored feed through an existing multimedia system. There is no single correct approach. It depends on the vehicle platform, the age of the infotainment system and how close to factory you want the finished result to feel.
Camera placement matters too. Tailgate handle replacements, number plate light integrations and boot-lid mounted units each have strengths. A handle-integrated camera is often the cleanest option visually, particularly on premium vehicles where finish and symmetry matter. A number plate light style camera can be effective and less invasive, but only if the fitment is precise and the lens angle is properly calibrated.
Compatibility is where most retrofits are won or lost
The most common mistake in DIY installations is assuming a camera is a camera. In reality, compatibility goes well beyond a video feed.
The system needs to know when reverse is selected. The display needs to switch at the right moment. Some vehicles require coding to activate camera input, parking guidelines or proximity overlays. Others need a canbus-aware interface to avoid warning lights, delayed switching or intermittent operation. On newer vehicles, especially those with tightly managed electronic architectures, incorrect integration can create faults that have nothing to do with the camera image itself.
This is why vehicle-specific harnesses and control strategies are so valuable. They reduce the need for cut-and-splice wiring, preserve electrical integrity and make the installation more serviceable in the future. If you are retrofitting a car you intend to keep, or one with strong resale value, that matters.
The installation itself demands patience and accuracy
A polished result comes from discipline. Boot trims, tailgate linings, threshold panels and interior side trims often need to come out to route the wiring correctly. Rushing this stage is where clips break, panels mark and rattles begin.
The camera cable should follow protected factory paths wherever possible. It needs to be secured properly, shielded from pinch points and routed away from moving mechanisms such as tailgate hinges. On hatchbacks and estates, the flexible loom section between body and tailgate is a critical area. Feed the cable through badly and you risk future failure each time the boot is opened and closed.
Water ingress is another area that separates specialist workmanship from improvised fitting. Any camera mounted externally must be sealed correctly. Grommets need to be seated properly, entry points need to remain weather-tight and the mounting position should not expose the lens or wiring to unnecessary contamination.
Inside the cabin, the standard should be the same. No loose modules behind trim, no cables pushed into voids and no evidence from the driver’s seat that anything has been altered beyond the new functionality. That is where craftsmanship meets innovation in a retrofit environment.
Coding, calibration and image quality
Once fitted, the system still needs to be commissioned properly. Many drivers assume that if the image appears, the job is finished. It is not.
Guidelines need to align sensibly with the vehicle’s actual path and dimensions. If the camera angle is too high or too low, the image may look impressive on screen but prove misleading in use. On some systems, dynamic guidelines can be activated or calibrated to move with steering input. On others, static guidelines are the realistic limit. Neither is inherently wrong, but expectations should match the hardware.
Image quality also varies more than the packaging suggests. Resolution matters, but so do low-light performance, lens distortion and processing delay. A budget camera may be acceptable in bright daylight, then become grainy and unreliable on a wet winter evening in a poorly lit car park. That is exactly when drivers depend on it most.
Should you retrofit it yourself or have it installed?
There is no automatic rule here. Some owners are more than capable of fitting a reverse camera with excellent results, particularly if they have access to model-specific parts, proper tools and accurate wiring information. If you are comfortable removing interior trim, routing harnesses and carrying out coding where required, a self-install can be a satisfying project.
Even so, there are trade-offs. The time commitment is often underestimated, especially on vehicles with complex tailgates or infotainment systems. One incorrectly removed trim panel or one wiring shortcut can turn a premium car into a source of small but persistent irritation.
Professional installation becomes especially worthwhile when the vehicle is high value, electronically complex or when the owner wants a genuinely factory-level finish. In those cases, the cost is not just for labour. It reflects experience, platform knowledge, correct components and the discipline to make the result look untouched.
For drivers who want that standard, Retro Fit Cars approaches reverse camera integration with the same mindset applied to security and OEM upgrade work - discreet fitment, precision installation and a final result that respects the vehicle.
Common problems to avoid in any reverse camera retrofit guide
Most poor results follow a familiar pattern. The wrong camera is chosen because it is cheap or broadly compatible rather than vehicle-specific. The image is fed into the wrong display path, leading to lag or unreliable switching. Power is taken from a convenient source instead of the correct one, which can create interference or inconsistent performance.
Then there is the physical finish. Misaligned cameras, visible silicone, damaged trim clips and loose wiring are not minor details on a well-kept car. They are signs the retrofit was treated as an add-on rather than an engineering exercise.
It is also worth remembering that a reverse camera is an aid, not a substitute for attention. The best systems improve visibility and reduce risk, but they do not replace mirrors, awareness or sensible manoeuvring. A good retrofit supports the driver. It does not encourage complacency.
Is it worth it?
For most drivers, yes - provided the system suits the car and the installation is done properly. If you regularly park in tight urban spaces, protect expensive paintwork, tow occasionally or simply want a more modern driving experience, a reverse camera quickly earns its place. It adds convenience every day and can prevent the sort of low-speed damage that is annoying, avoidable and often costly.
More importantly, it can make an older or under-specified vehicle feel complete. That is often the real value of a retrofit. Not novelty, but refinement. The sense that the car now has the functionality it always should have had.
Choose the route that respects the vehicle. If that means a carefully planned self-install with the right parts, take your time and do it once. If it means specialist installation for a cleaner, more dependable outcome, that is money well spent. The best retrofit is the one you stop noticing because it works exactly as it should, every time you select reverse.


Comments